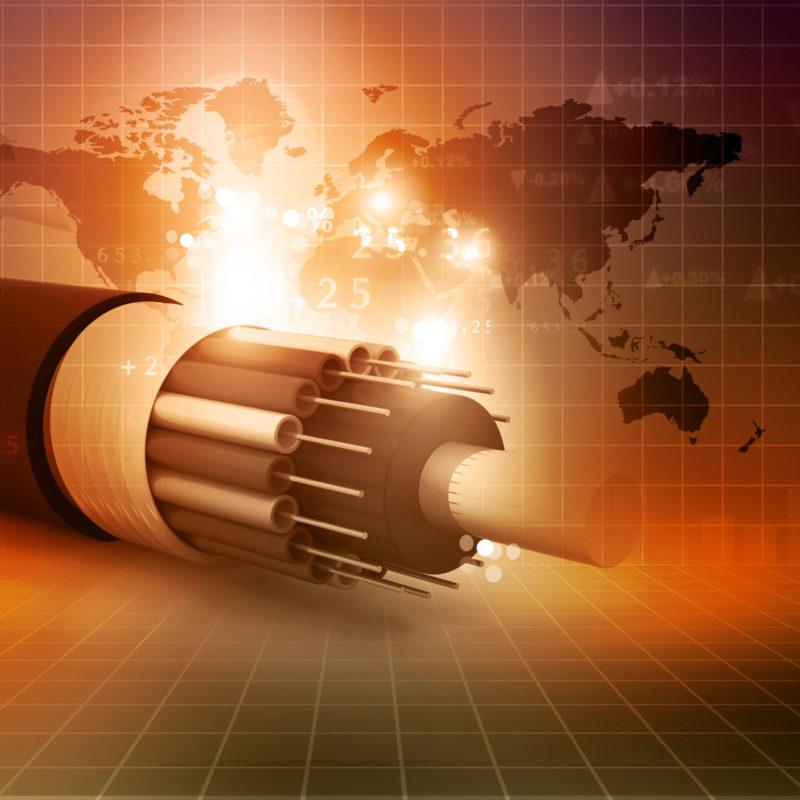
Internet Access Is Our Passion
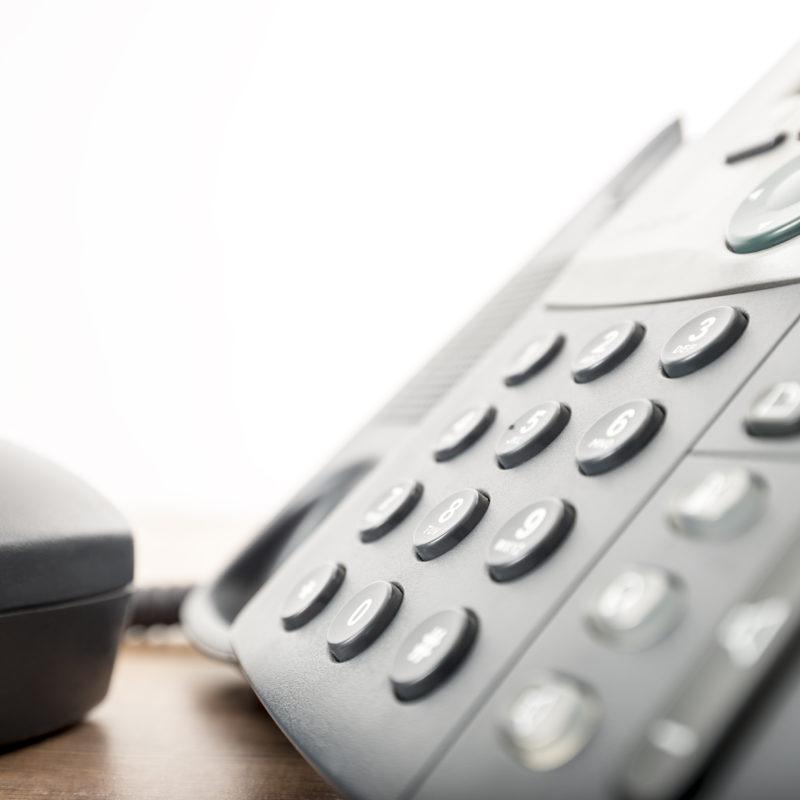
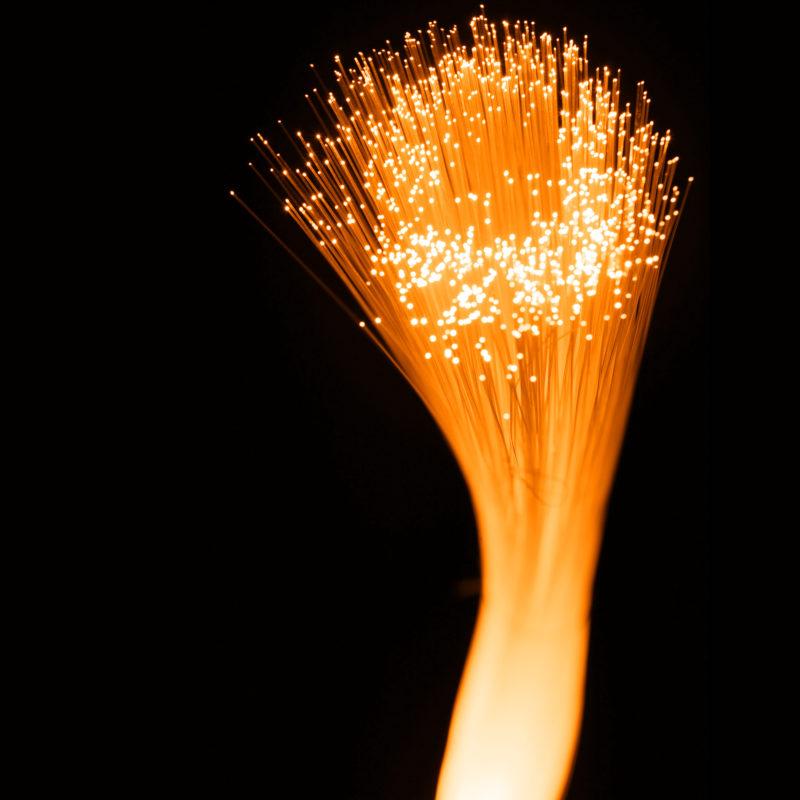
Ultimate Internet Access, Inc. (UIA) is an Internet Service Provider located in Ontario, California, providing High Speed Internet Access including 1 Gig Fiber to the Home, Business Fiber, FiberToWireless, as well as Voice Over IP and Data Center Hosting services.